DIY Gantry Crane Construction Guide for Home Projects and Workshop Efficiency
Building a Homemade Gantry Crane A Step-by-Step Guide
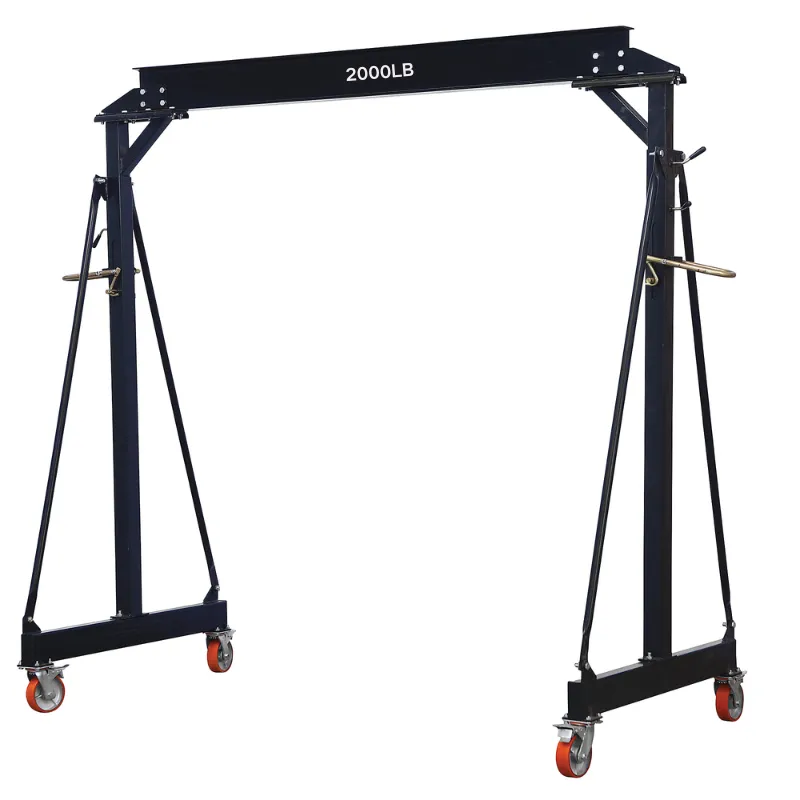
In the world of DIY projects, building a homemade gantry crane stands out as an ambitious yet rewarding endeavor. Gantry cranes are invaluable for lifting and moving heavy objects safely and efficiently, making them essential for workshops, garages, or large home improvement projects. Whether you need to move engines, heavy furniture, or even large construction materials, a gantry crane can simplify these tasks significantly. Here, I will guide you through the process of creating your very own gantry crane.
Materials and Tools
Before diving into the construction, gather all the necessary materials and tools. For a simple homemade gantry crane, you will need
- Steel or aluminum beams for the frame (the width and height will depend on your specific needs). - Caster wheels for mobility. - A hoist or winch capable of lifting the weight you plan to handle. - Bolts, nuts, and washers to assemble the frame. - Safety equipment such as gloves and goggles.
Tools you’ll need include
- A saw (preferably a metal cutting saw). - A drill. - A wrench set. - A level to ensure everything is even.
Step 1 Designing the Crane
Begin by designing your gantry crane. This can be done through sketches or digital designs. Consider the dimensions the height, width, and lifting capacity will greatly depend on how you intend to use the crane. A typical gantry crane might have a height of about 7-10 feet and a span of 10-15 feet.
Step 2 Cutting and Preparing Materials
Once you have a clear design, cut your steel or aluminum beams to the specified lengths. Make sure to measure twice and cut once to avoid any mistakes. After cutting, smooth any sharp edges to ensure safety during assembly.
Step 3 Assembling the Frame
homemade gantry crane

Begin assembling the frame by laying out the horizontal and vertical beams. Use the bolts, nuts, and washers to secure the beams together. It’s crucial to ensure that the structure is squared and leveled at this stage. An uneven frame can lead to operational failures and safety hazards.
Step 4 Installing Caster Wheels
For mobility, attach caster wheels to the base of your gantry crane. Choose wheels rated for heavy loads to ensure stability while moving the crane. Make sure the wheels can swivel for easy maneuverability, allowing the crane to navigate tight spaces effectively.
Step 5 Adding the Hoist or Winch
Install the hoist or winch at the top of your gantry crane. This component will be responsible for lifting and lowering the loads. Ensure that the hoist is appropriately mounted and able to handle the weight capacity you anticipate using. Follow the manufacturer's instructions for proper installation.
Step 6 Safety Checks
Before using your homemade gantry crane, conduct thorough safety checks. Inspect all connections, ensure the wheels are functioning correctly, and verify the hoist operates smoothly. It is imperative to test the crane’s stability by lifting a smaller weight before attempting to lift heavier loads.
Step 7 Operational Guidelines
Once safely assembled, create operational guidelines. Establish weight limits based on the materials used and the specifications of your hoist. Always ensure that you are using proper lifting techniques and never exceed the recommended weight limit.
Conclusion
Building a homemade gantry crane is not just a fantastic DIY project; it's also a practical solution for managing heavy lifting tasks. By following these steps and prioritizing safety, you can create a versatile tool that will enhance your workshop’s capabilities. Whether you use it for vehicle maintenance, home renovations, or heavy lifting in your garage, a gantry crane will prove to be an invaluable asset. So gather your materials, roll up your sleeves, and take on this rewarding project!
-
Unlock Seamless Relocation with Our Heavy Equipment Moving ExpertiseNewsJun.06,2025
-
Unleash Unrivaled Flexibility with Our Adjustable Gantry CraneNewsJun.06,2025
-
Unleash Heavy-Duty Efficiency with Our Industrial Gantry Crane SolutionsNewsJun.06,2025
-
Revolutionize Steel Handling with Our Magnetic Lifter RangeNewsJun.06,2025
-
Master Equipment Mobility with Premium Machinery Mover SolutionsNewsJun.06,2025
-
Elevate Your Material Handling with Magnetic Lifter TechnologyNewsJun.06,2025
-
YS Permanent Lifting Magnets: The Smarter Way to Handle SteelNewsMay.22,2025
