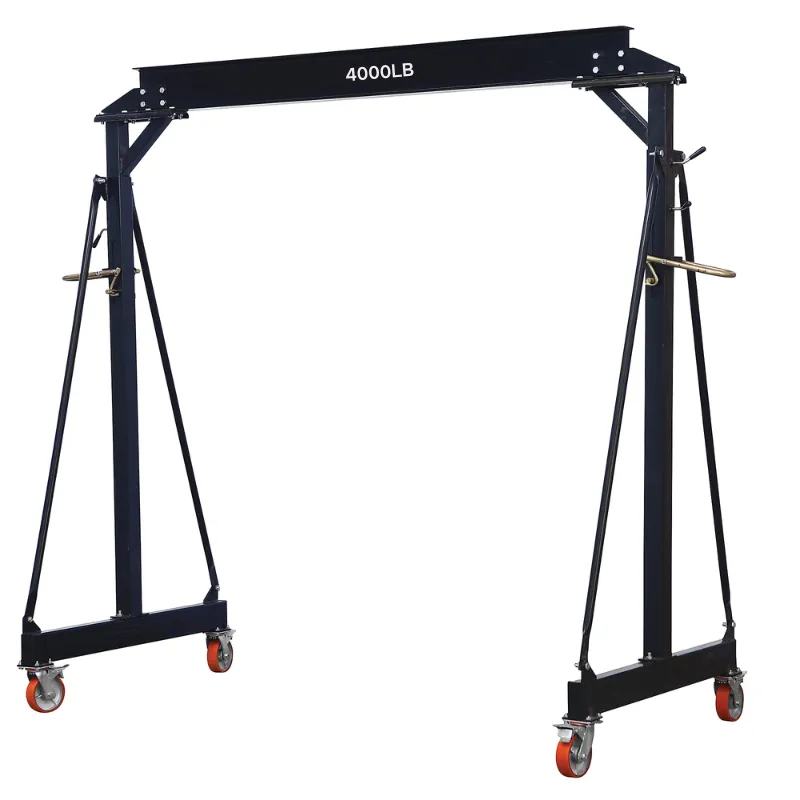
homemade gantry crane
Building a Homemade Gantry Crane A Comprehensive Guide
A gantry crane is an essential tool for many workshops and construction sites, providing a means to lift and maneuver heavy materials safely and efficiently. While industrial gantry cranes can be quite expensive, constructing a homemade gantry crane can be a rewarding project that saves money and meets specific needs. This article outlines the steps to build your own gantry crane, ensuring you have the knowledge and resources needed for a successful construction.
Understanding the Basics
A gantry crane typically consists of a frame that spans the workspace with support legs and a hoist that moves along a horizontal beam. The design can be customized based on the height, weight capacity, and space requirements of your tasks. Before beginning, it’s essential to determine the specifications based on your needs.
Materials Needed
You will require a variety of materials for building your gantry crane, including
1. Steel or Aluminum Tubing This will form the main components of your crane. You’ll need tubing for the horizontal beam and vertical legs. 2. Wheels or Casters To make your crane movable, attach heavy-duty casters or wheels to the legs. 3. Hoist A winch or electric hoist will be needed to lift heavy loads efficiently. 4. Bolts and Fasteners Strong bolts, nuts, and other fasteners are essential for securing connections. 5. Welding Equipment (if applicable) If you plan to weld the frame, ensure you have a proper welding setup.
Step-by-Step Construction
1. Design the Frame Sketch out a design that suits your requirements. Standard heights range from 10 to 12 feet, with widths of about 8 to 12 feet. Remember to incorporate a height-adjustable feature if you want versatility.
2. Cut the Tubing Based on your design, measure and cut the steel or aluminum tubing to the required lengths for the horizontal and vertical components.
homemade gantry crane

3. Assemble the Structure Start by assembling the vertical legs and attaching the horizontal beam. You can either bolt the sections together or weld them for a more permanent structure. Ensure that the assembly is level and square, which is crucial for stability.
4. Attach Wheels Secure heavy-duty casters to the base of the vertical legs to facilitate movement. Opt for locking casters to prevent unwanted movement while in use.
5. Install the Hoist Attach the hoist to the center of the horizontal beam. Ensure it is mounted securely and can move freely across the span of the beam.
6. Test the Crane Before putting the crane to regular use, perform load testing with progressively heavier weights. Start with light loads and gradually increase to ensure the stability and integrity of the structure.
Safety Considerations
Safety is paramount when using a gantry crane. Always ensure that
- The crane is built with high-quality materials capable of handling the intended load. - You never exceed the weight limit you have established. - Adequate safety precautions are taken, such as using proper lifting techniques and wearing safety gear.
Conclusion
Building a homemade gantry crane can be a practical project that enhances your workshop's functionality. By following this guide, you can create a custom gantry crane tailored to your specific needs, all while saving money. Not only does this project enhance your skills, but it also provides a tangible solution for lifting heavy materials safely and effectively. Remember to prioritize safety throughout the construction and operation of your crane to ensure a successful and rewarding experience.
-
Unlock Seamless Relocation with Our Heavy Equipment Moving ExpertiseNewsJun.06,2025
-
Unleash Unrivaled Flexibility with Our Adjustable Gantry CraneNewsJun.06,2025
-
Unleash Heavy-Duty Efficiency with Our Industrial Gantry Crane SolutionsNewsJun.06,2025
-
Revolutionize Steel Handling with Our Magnetic Lifter RangeNewsJun.06,2025
-
Master Equipment Mobility with Premium Machinery Mover SolutionsNewsJun.06,2025
-
Elevate Your Material Handling with Magnetic Lifter TechnologyNewsJun.06,2025
-
YS Permanent Lifting Magnets: The Smarter Way to Handle SteelNewsMay.22,2025
